Check out these DIY costumes for the whole family!
We mostly used things that we already had around the house, so purchases were minimal. We spent less total than we would have on one costume!
DELUXE HAIR STYLING KIT
My 10 year old decided during trick-or-treat LAST year that this was the costume she wanted me to make her for this year. Last year, she was a hot air balloon, so she definitely likes creative costumes. We already had all of this stuff except a box, which we got for free.
MATERIALS:
Box
Packing tape or duct tape
Box Knife or Pen
Yarn (any color)
Permanent markers
Paint
Paintbrushes
Make Up
Accessories
DIRECTIONS:
1. Fold the flaps of the box in on all sides (top and bottom). Tape them down with the tape.
2. Paint the box. I chose to do the front and back pink then the sides purple.
3. While the paint is drying, sketch out on a piece of paper what you want on your box.
4. Design your box. I put the name and pictures of contents on the front; a list of contents on one side; As Seen on Tv and a price on the other side; the name, warning, and age group on the back.
5. Poke holes in the box near the top, a couple inches in, on the left and right – front and back. You will use the box knife or pen for this.
6. Cut yarn to length of arm pit to armpit. Thread the yarn through the holes on the right side and tie knots. Do the same for the left side. These will hold the box on the body.
7. Do hair and make-up.
LEMONADE STAND
My 8 year old decided since her sister was using a box for her costume, she wanted to use one, too. So we decided on a lemonade stand! This one was much easier than I expected, and we used all materials that we already had around the house.
MATERIALS:
Box
Packing tape or duct tape
Box knife
Paint (Blue, Brown, and Green)
Paintbrushes
1 sheet of construction paper
crayons, markers, or colored pencils
tea set
Hot glue gun
suspenders (yarn will work if you don’t have any)
DIRECTIONS:
1. Fold the flaps in on the bottom of the box. Tape them down with the tape
2. Measure your child from front to back and side to side. You will use those measurements to cut out a rectangle (or, in my daughter’s case, closer to a square since I measured farthest points sticking out) from the box. The rectangle will be at the BACK of the top of the box and centered. Use the box knife to cut it.
3. Tape any loose flaps in at the top of the box. Keep in mind that you want the top to be sturdy. So I taped what I could under the top.
4. Paint a big blue rectangle around each side of the box, leaving about 4-5 inches at the top, 2-3 inches on each side, and an inch on the bottom.
5. When the pain dries, paint the sides and top with brown.
6. When the brown is dry, paint the bottom strip green, then brush grass up from the green strip.
7. Hot glue tea cups and a pitcher to the top of the box.
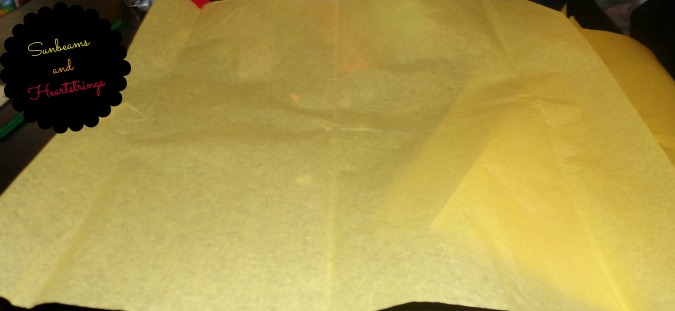
8. Cut the piece of construction paper into fourths. I used a yellow piece since it is lemonade, and the yellow really stands out. Write “Lemonade 10c” on the signs. Hot glue it on each side. I glued it on crooked so that i looks like it would if a kid had posted it on a real stand.
9. Hook the box up with suspenders or yarn.
HULA GIRL WIND-UP TOY
Our five year old wanted to be a wind-up toy. Since we had everything in the dress-up bin for a hula dancer except the skirt, that’s what she went with. All I had to do for hers was make the hula skirt and the wind-up part. You can find many Hawaiian accessories at Dollar Tree during summer. It was cold, so we layered her items over the clothes she already had on.
MATERIALS:
Flower Necklace
Flower bracelets
Flowers for hair
Bodysuit or swimsuit
Coconut bra
Hula skirt (raffia ribbon for DIY below)
Cardboard
Foil
DIRECTIONS:
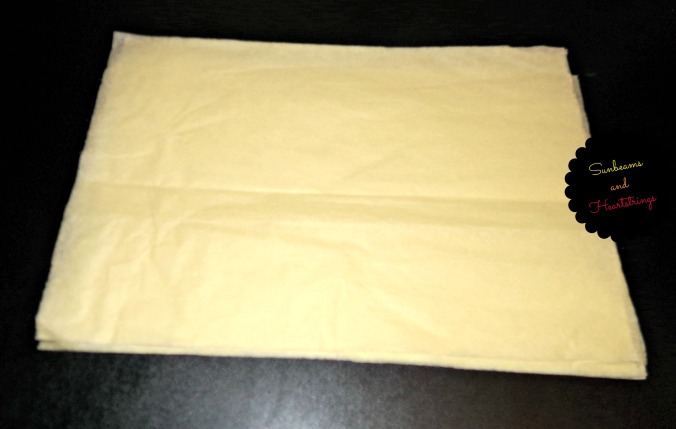
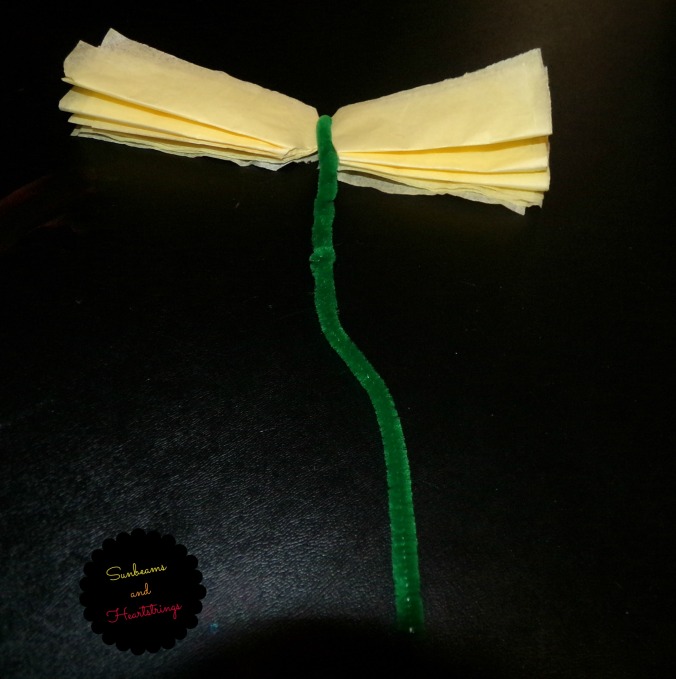
1. Make your hula skirt using raffia if you don’t have one. I found mine at JoAnn Fabrics in the floral section. Take five long strands and tie a knot at the ends (tying the strands together). This will be your waist. Measure your child’s waste to see how wide you need the skirt to be. This will be how wide you need the strands handing down to be, not just the ribbon you just tied. My daughter’s measured 22″ and I actually needed about 24″ (so add about 2″ to your measurement). The raffia ribbon came in long and short pieces (mostly long), so I did not use the short pieces. Grab a long piece and fold it in half. Lay the fold over middle of the waist band. Pull the strands through.
I started in the middle and did the right side, then went back and did the left side. The leftover waist on each side is for tying it.
2. Cut a “B” out of a piece of cardboard and cover it in foil. Cut a slit in it in the middle of the flat side.
3. Dress your child. When you put the coconut bra on, thread the back straps through the cardboard “B” before tying it behind the “B.” This will hold the “wind-up” part on.
OLD MAN FROM “UP”
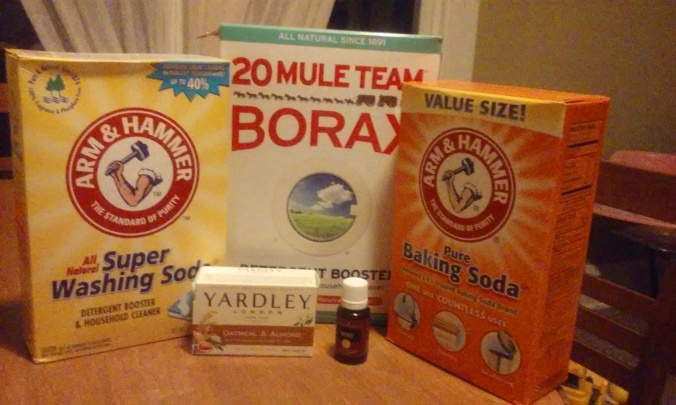
I honestly don’t even remember how we came up with this idea, but the only thing we had to get for this was the pieces for the cane. We didn’t have a sweater that looked similar, so we just used whatever jacket during the chilly trick-or-treat. It wasn’t a big deal when he didn’t wear the glasses outside. People still thought he was adorable and understood the costume. We DID plan to color is hair by putting flour in it, but we were running short on time and decided to skip that part. We chose flour because it is natural and not putting dangerous chemicals onto his body (which would then seep INTO his body).
MATERIALS:
Dress pants
White dress shirt
Black bowtie
Black fake glasses (we used 3D glasses without the lenses)
Jacket or sweater (optional)
1″ PVC pipe
4 Way connector
(6) 1″ Street elbows
4 tennis balls
Duct tape
DIRECTIONS:
1. Cut the pipe to the height your child needs (using whatever tool necessary. You can probably ask a worker at Home Depot to do this). Cut a 1″ hole in the Four way connector (only on the top. DO NOT go through the other side). Wrap duct tape around the bottom of the 1″ pipe and insert into the whole. Add a street elbow to each of the four sides of the connector, facing down. Add a street elbow to the top of the 1″ pipe. Add the last street elbow to the one you just put on, so that it comes out and down. Lastly, cut holes in the tennis balls for the street elbows on the bottom and insert them.
2. Dress your child right before it is time to take pictures and leave, because white is really hard to keep clean!
OPPOSITE TEAM FAN
So, I didn’t actually make these ones… But anyone who is a die hard fan knows how painful it is to appear to be cheering for the other team. I am a RED SOX fan, so I wore his Yankees jersey. Grant is a YANKEES fan, and he wore my Red Sox jersey. We actually had one guy ask us if we were dying a little inside!
You can easily make this with a plain colored button down shirt and fabric markers.